Hazardous black mold or less hazardous green patches along the grout and caulking are common signs of mold in showers. Shower mold can penetrate deeper into surfaces and leave behind unwanted stains, in contrast to mildew, which is usually grey or white.
The good news is that mold removal from shower caulking is not as difficult as it might seem. You can try a few affordable methods to remove persistent mold and restore the brightness and cleanliness of your shower. Let’s now explore how to remove mold from shower caulking.
How To Remove Mold From Shower Caulking: Easy Methods
Due to the warm, humid conditions that showers create, mold and mildew are more likely to form on shower caulk. Thus, make sure your shower is entirely dry before starting to remove it—including six hours after the last use—and that your bathroom is properly ventilated by opening doors and windows or running an extractor fan.
To protect areas around you from bleach or abrasive cleaning products, you might also want to use painter’s tape or plastic sheets and wear a protective respirator mask.
Here are 4 easy methods for removing mold from shower caulking
First Method: Vinegar
According to professional cleaners, the easiest method for getting rid of mold spores from shower caulking is to clean with vinegar. Vinegar can kill an estimated 82% of kinds of mold, making it a cost-effective, multipurpose cleaning treatment.
Here’s how to destroy mold using vinegar:
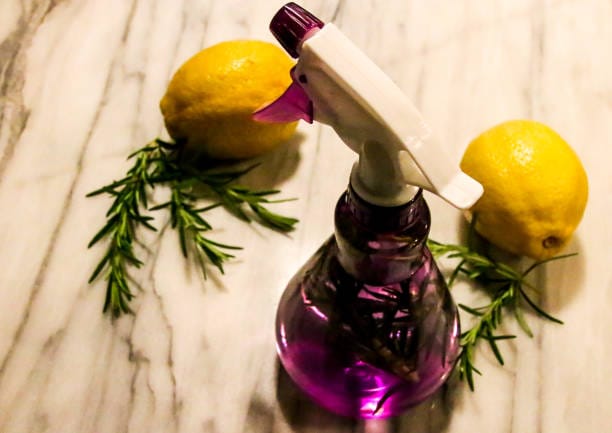
- Step 1: In a spray bottle, combine equal parts vinegar and water to create a solution.
- Step 2: Gently mist the afflicted areas, then leave it for at least half an hour.
- Step 3: Use a brush soaked in baking soda to scrub the molded caulking.
- Step 4: Rinse with warm water and use a fresh cloth to pat dry.
You can use this economical white vinegar for several household cleaning applications. Use a lot of vinegar on the moldy caulking for a better result. Make sure all of the moldy areas are wet. The vinegar’s acidity contributes to the mold spores’ breakdown and destruction. It’s important to give the vinegar an hour to work. This makes it easier to penetrate and get rid of the mold at its source. Do not rinse or wipe off the vinegar at this point. To stop mold from growing again, the treated area must be completely dry after rinsing. Remove any remaining moisture with a fresh towel or cloth, or allow the area to air dry entirely.
Second Method: Bleach
According to mold professionals, bleach is not a very good way to remove mold. However, this method might be useful if all you want to do is get rid of surface-level mold and improve the appearance of your shower caulking or grout.
Here’s how to destroy mold using bleach:
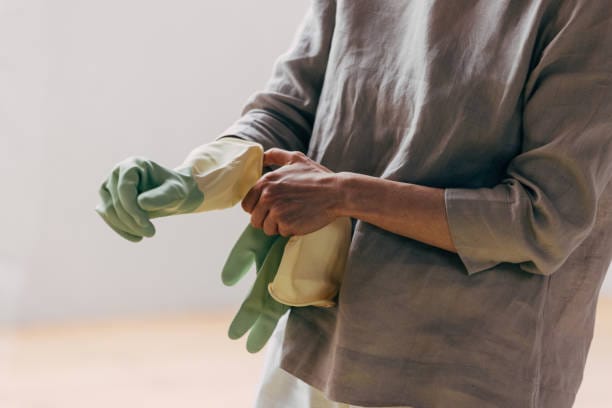
- Step 1: Wear a mask and protective gloves when handling bleach, and make sure there is enough ventilation.
- Step 2: In a spray bottle, combine one part bleach with ten parts water.
- Step 3: After spraying the moldy caulking, leave it for 20 to 30 minutes.
- Step 4: To get rid of the mold, scrub the area using a brush.
- Step 5: Dry the area after giving it a thorough rinse with warm water.
Mold can be successfully removed using a diluted solution of bleach and water, which also reduces the possibility of damaging nearby surfaces or caulking. Make sure the solution completely covers the moldy caulking; depending on how bad the mold is, you may need to leave it for more than 30 minutes. A bristle brush can help remove the mold.
Third Method: Commercial Mold Solutions
To get rid of stubborn mold, you might have to use commercial mold solutions. Always pay close attention to the directions on the product label and let it sit for the suggested amount of time.
Commercial solutions may contain harsh chemicals, yet they can also be quite effective. Keep your restroom well-ventilated at all times, and if possible, wear goggles and a protective mask.
Fourth Method: Change The Caulking
It is almost impossible to prevent mold from forming once shower caulking starts to show signs of wear and tear or if it was installed incorrectly. Even if you routinely clean the caulking’s surfaces of apparent mold and mildew, you may still be inhaling the invisible spores.
In this situation, replacing it entirely is the best course of action; luckily, this is an easy and affordable project.
- Step 1: Thoroughly clean the area beneath the old caulk with vinegar or bleach.
- Step 2: After it dries, use a caulk gun to add fresh, mold-resistant silicone caulk around the shower’s edges. Most caulk dries in less than two hours, but if you want it to be waterproof—which you do—it may take up to two days to cure completely.
How Can Mold on Shower Caulk Be Prevented in the Future?
Addressing the causes that encourage mold growth is crucial if you want to stop it from forming on the caulk in your shower. Here are a few efficient strategies:
Fix Any Leaks
To prevent water from leaking into hidden spaces behind surfaces where mold might grow, check the caulking for cracks or damage and fix them immediately.
Increased Airflow
Ensure that your bathroom has enough airflow. To eliminate humid air and reduce moisture levels, use an exhaust fan both during and after a shower. Another way to improve air circulation is to open a window.
Maintain Dry Surfaces
After a shower, use a towel or squeegee to dry the caulk and walls. Mold thrives on humidity, which can be reduced by cutting back on excess water.
Make Use of a Dehumidifier
A dehumidifier is useful in maintaining ideal moisture levels in high-humidity settings, reducing the growth of mold.
Reduce the Use of Organics
Wash off body oils and soap residue regularly because they feed mold. Using a shower spray every day is an efficient way to break down these harmful substances.
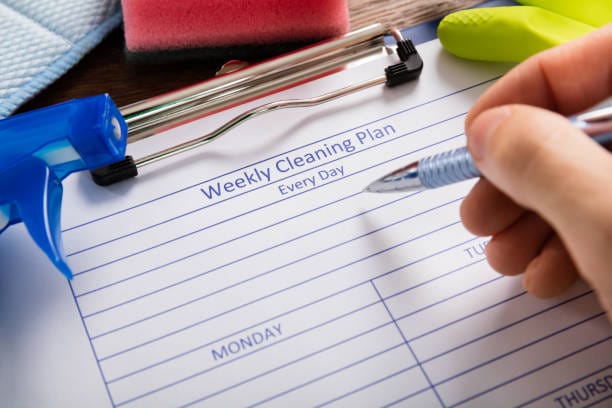
Regular Maintenance
Caulk and clean your shower regularly using solutions that stop mold from growing. Vinegar is a natural way to get rid of current spores and prevent the growth of new ones.
Learning how to remove mold from shower caulking can save you a lot of money. If you have the appropriate tools and methods, it will be a manageable task. Scrubbing and rinsing should be done thoroughly after washing the area with mold-killing solutions like bleach or vinegar. For tough stains, baking soda paste can be used to remove the remaining mold. The caulk might need to be replaced completely if the mold continues to grow or if it is damaged.
Make sure there is enough ventilation, and consider applying mildew-resistant caulk to prevent mold from growing in the future. With regular cleaning and maintenance, your shower will remain mold-free and in good condition.
Sarah is part of the content team at No More Chores, Toronto's highest-rated residential cleaning service. Drawing on 10 years of hands-on cleaning expertise and thousands of jobs across the GTA, she covers home cleaning tips, service guides, and practical advice for keeping your home in top shape.