Concrete dust is one of the most stubborn messes a renovation leaves behind. Unlike regular household dust, it’s made of fine silica particles that settle into every crack, coat every surface, and recirculate every time someone walks through the room. Breathing silica dust repeatedly is a genuine health concern — it’s classified as a respiratory hazard by Health Canada, and a post-reno cleanup done wrong can leave those particles in your air for weeks.
The good news is that with the right approach and the right order of operations, you can get your home properly clean. The mistake most people make is reaching for a mop too soon. Here’s how to do it correctly.
Why Concrete Dust Is Different From Regular Dust
Concrete dust particles can be as small as 1–10 microns — invisible to the naked eye. A regular broom just lifts them back into the air. A standard vacuum recirculates the fine particles through its exhaust. You need a HEPA-filtered vacuum (rated to capture particles down to 0.3 microns) and you need to work in a specific order: seal the HVAC, dry-vacuum first, then wet-clean. Skip that sequence and you’ll either push dust into your ductwork or turn it into a grey concrete slurry that smears across every surface you try to wipe.
What You’ll Need
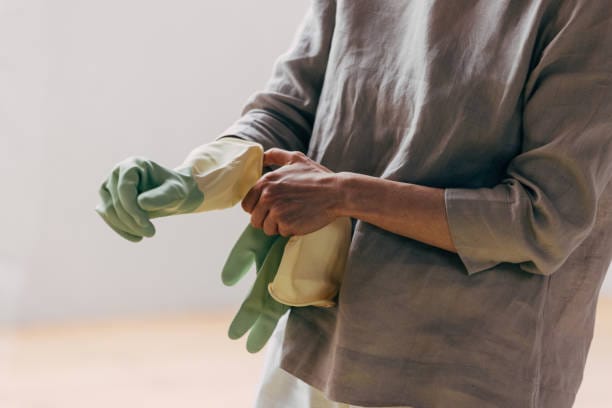
- HEPA vacuum — not optional. A regular vacuum makes it worse.
- Microfibre cloths (trap particles; cotton releases them)
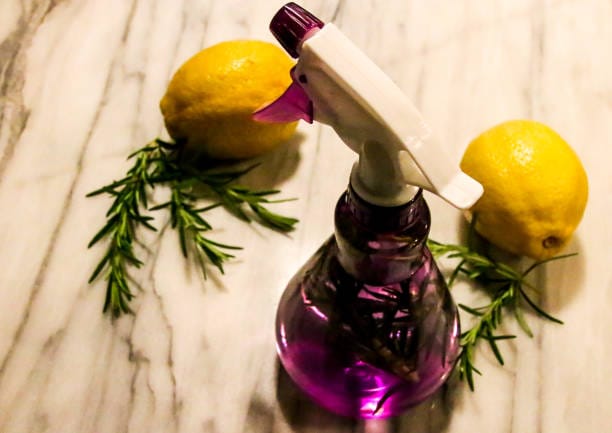
- Bucket, warm water, and a pH-neutral cleaner
- N95 mask minimum — wear it the entire time you’re cleaning
- Safety glasses
- Plastic sheeting and tape for sealing HVAC vents
- A fresh HVAC filter for when you’re done
Step 1: Seal Your HVAC Vents Before Anything Else
Before you touch a single surface, cover every air return and supply vent with plastic sheeting and tape. Concrete dust inside your ductwork means breathing it for months and a costly professional duct cleaning. Turn your HVAC system off completely while you clean, and swap in a fresh filter before you turn it back on at the end.
Step 2: Dry-Vacuum First, Top to Bottom
Resist the urge to grab a wet mop. Wet-cleaning concrete dust before vacuuming turns it into a thin grey slurry that smears across every surface and dries into a haze that’s much harder to remove than the original dust.
Start at ceiling height — HEPA-vacuum ledges, tops of cabinets, window frames, light fixtures, and door tops. Work downward: walls, furniture surfaces, baseboards. Leave the floor for last. On hard floors, make two slow passes before any wet cleaning. On carpet, vacuum even more slowly than you think necessary — concrete dust packs deep into fibres and needs two or three passes to come out properly.
Step 3: Wet-Clean Surfaces
Once every surface has been dry-vacuumed, wipe hard surfaces with a damp microfibre cloth wrung almost dry — not soaking wet. Rinse the cloth frequently. Once it picks up concrete dust, it smears rather than removes. For floors, a barely-damp mop works well on tile and sealed hardwood. Avoid pooling water on hardwood or laminate.
For stubborn grey haze on tile or concrete floors, a diluted white vinegar solution (one part vinegar to four parts warm water) cuts through the alkaline residue well. Standard floor cleaner works too — the key is rinsing with clean water afterward so you don’t leave a film.
The Spots People Consistently Miss
Run a finger along the top of every door frame, baseboard, and window sill after you think you’re done. If you pick up grey residue, keep going. The places that get overlooked most often: inside closets with the doors left open during the reno, under the fridge and stove, inside kitchen drawers, window tracks, and bathroom exhaust fans. If the renovation touched any part of your HVAC system, the area around supply vents will have heavy buildup.
When the Job Is Bigger Than One Weekend
A thorough post-renovation clean on an average Toronto home takes six to ten hours when done properly — often longer after a major renovation involving concrete, drywall, or demolition. If you’ve just finished a renovation, you’re exhausted and ready to move back in, not spend your weekend on cleanup with a rented vacuum.
Post-renovation cleaning is one of the services No More Chores handles regularly across Toronto and the GTA. We work in the correct sequence, bring professional HEPA equipment, and cover the full house including vent prep — so you’re moving back into a home that’s genuinely clean, not just surface-clean.
Get a post-renovation cleaning quote
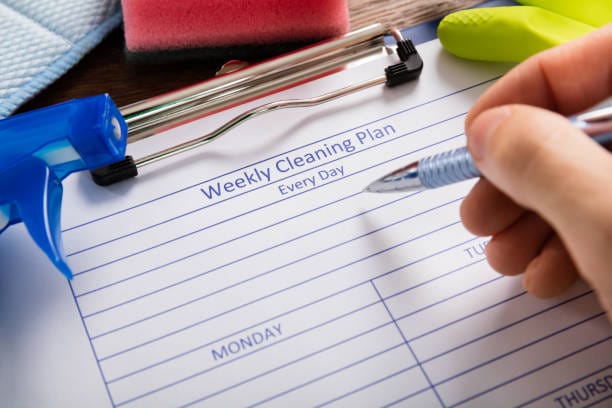
Quick Reference
Do this first: seal HVAC vents, put on your N95, HEPA-vacuum from top to bottom.
Do this second: wipe all surfaces with a damp microfibre cloth, mop floors.
Do this last: replace HVAC filter, check the spots you missed, turn system back on.
The order matters more than the products you use. Get the sequence right and the rest follows.
Sarah is part of the content team at No More Chores, Toronto's highest-rated residential cleaning service. Drawing on 10 years of hands-on cleaning expertise and thousands of jobs across the GTA, she covers home cleaning tips, service guides, and practical advice for keeping your home in top shape.